A practical way to organize usability test insights

What do we do with insights from multiple usability tests?
The most overwhelming thing when conducting multiple usability tests is knowing what to do with all of the insights. As a UX Designer at Pixo, I use a mishmash of techniques to help our team make smart choices when deciding where to put our efforts after a usability test.
I eventually created a Google Sheets template (Make a copy for yourself and try it out!) to help me prep for, conduct, and evaluate the results of usability tests.
Pre-usability test:
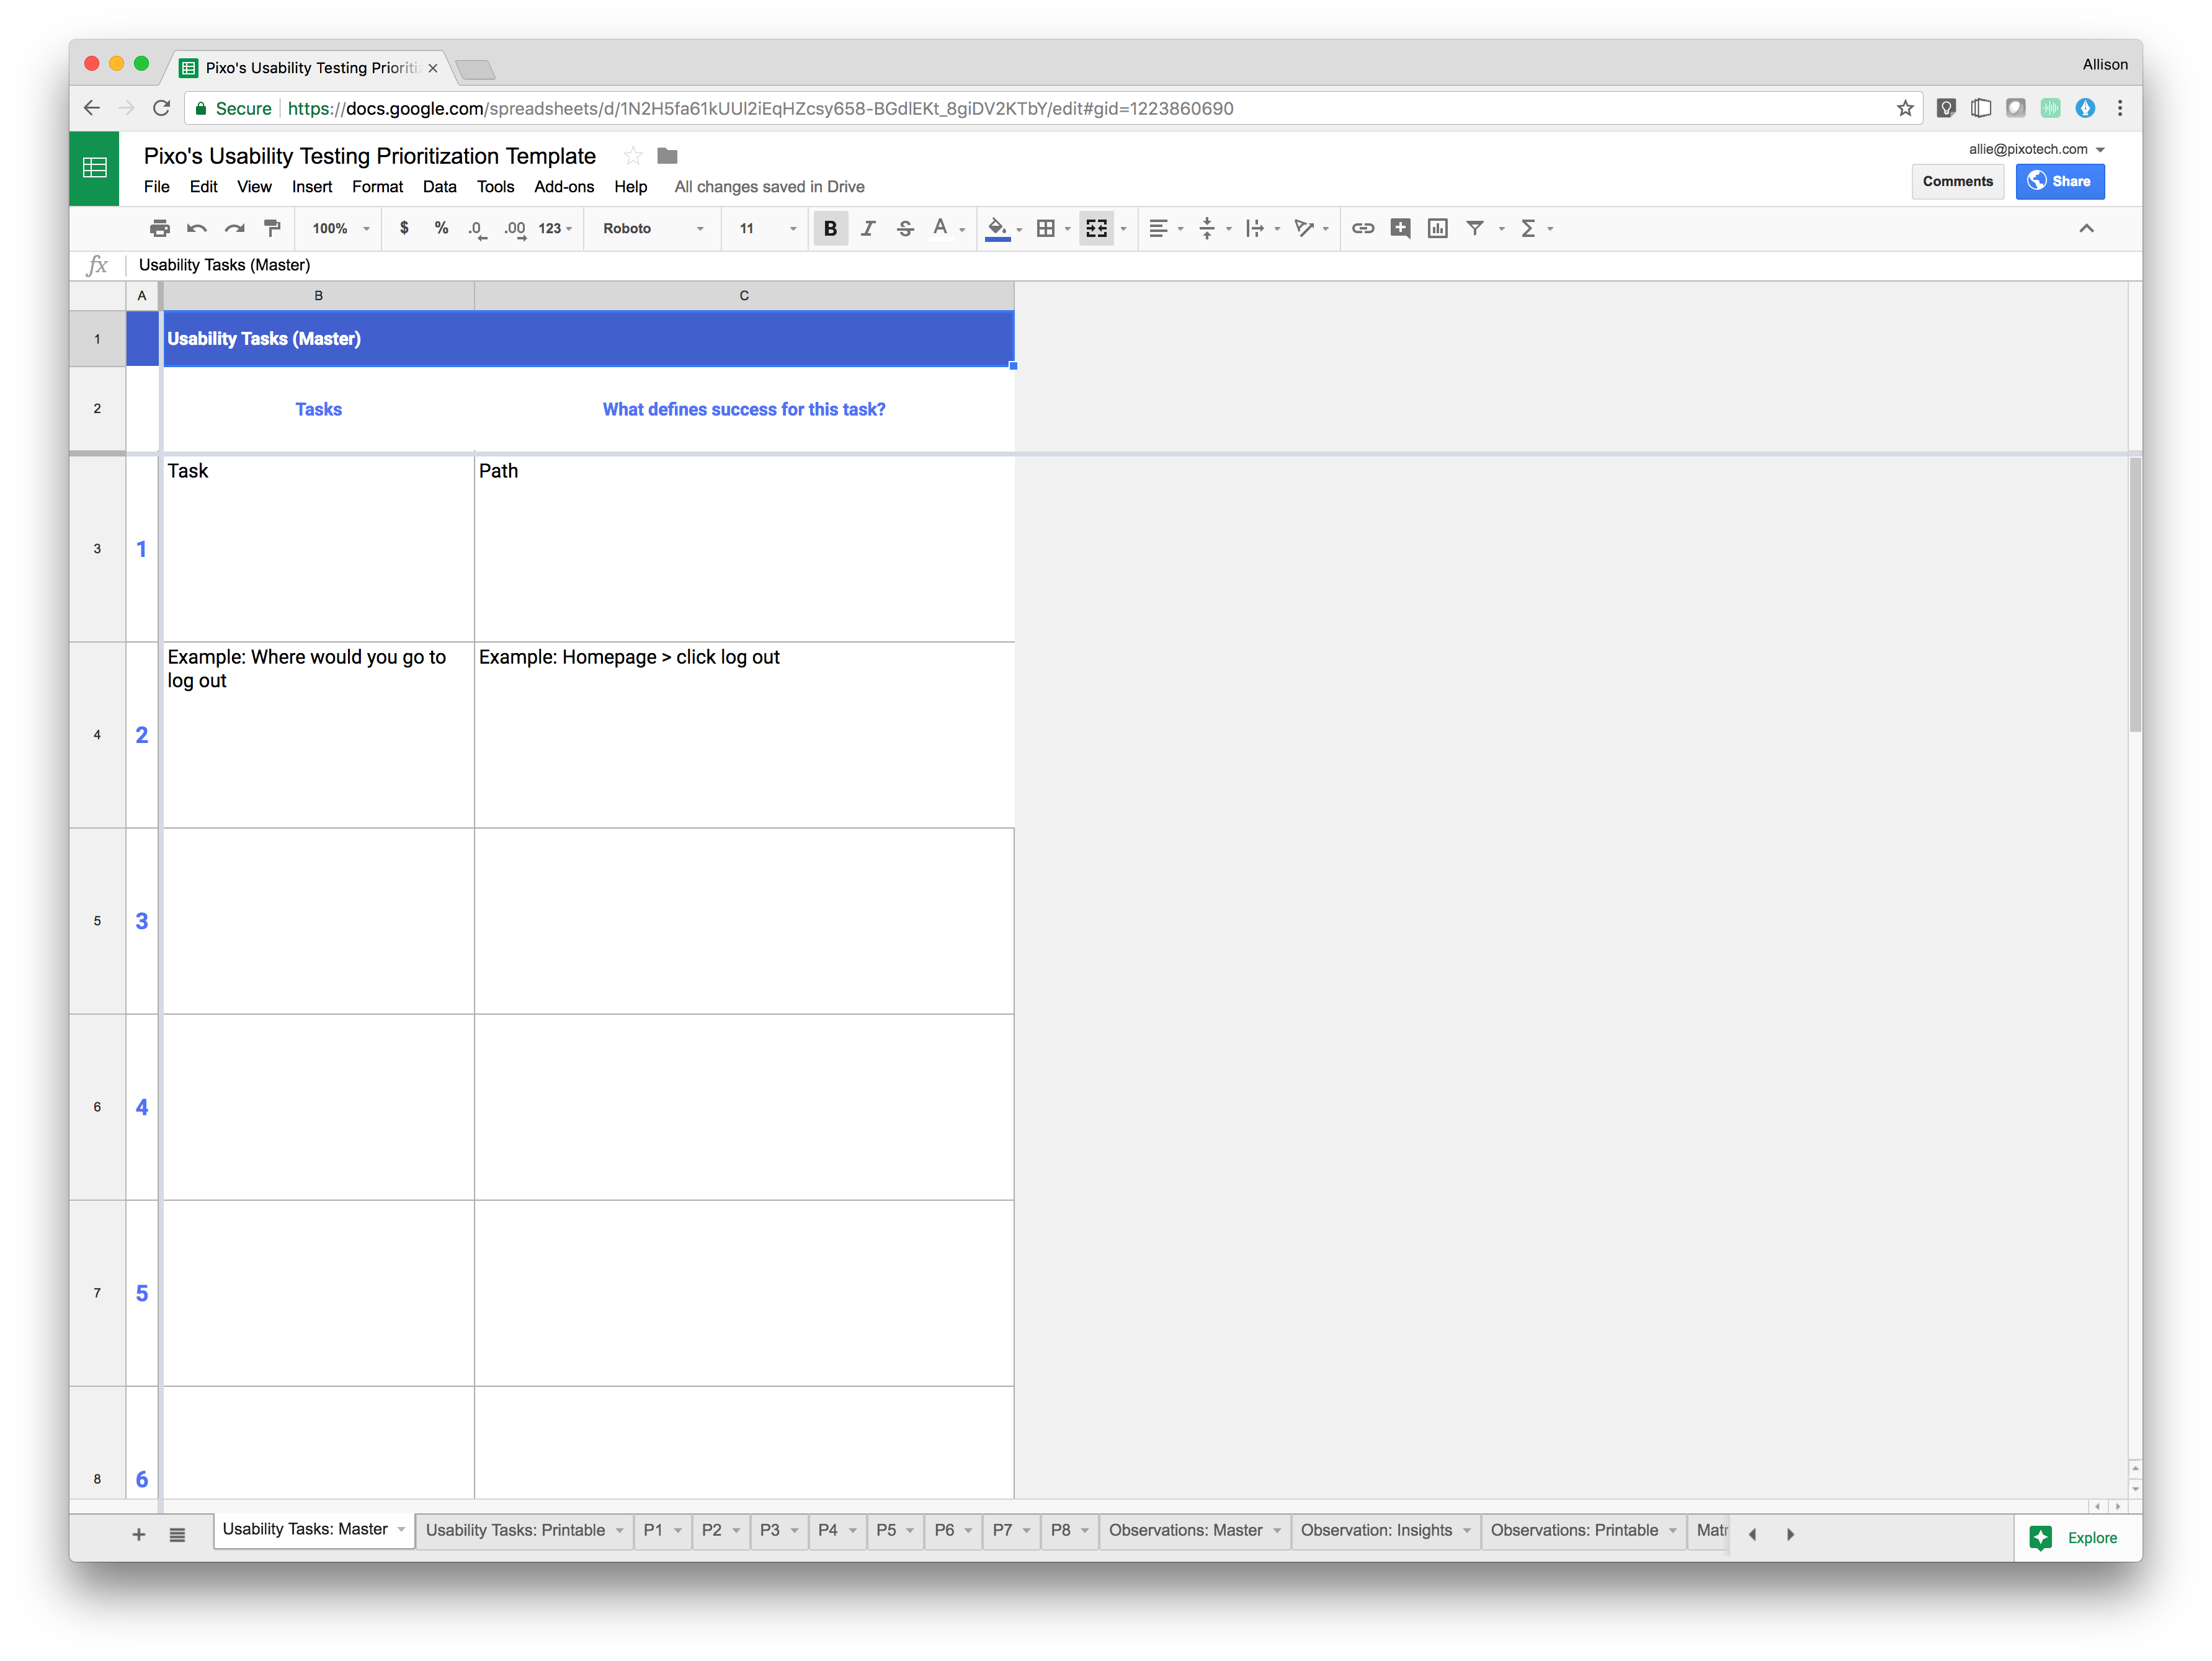
Step 1: Create tasks
Start by adding each usability task to the first sheet in this document, Usability Questions: Main. This should be exactly what you plan to say to users during the test. Next, add the path you expect users to take to succeed. Make sure to confirm if there are or aren’t multiple ways a user could successfully complete each task.
Example: Task: You want to call someone at Organization X. Where would you go to find the information you need?
Path: Home > Select About > Select “Contact Us”
Step 2: Prepare questions
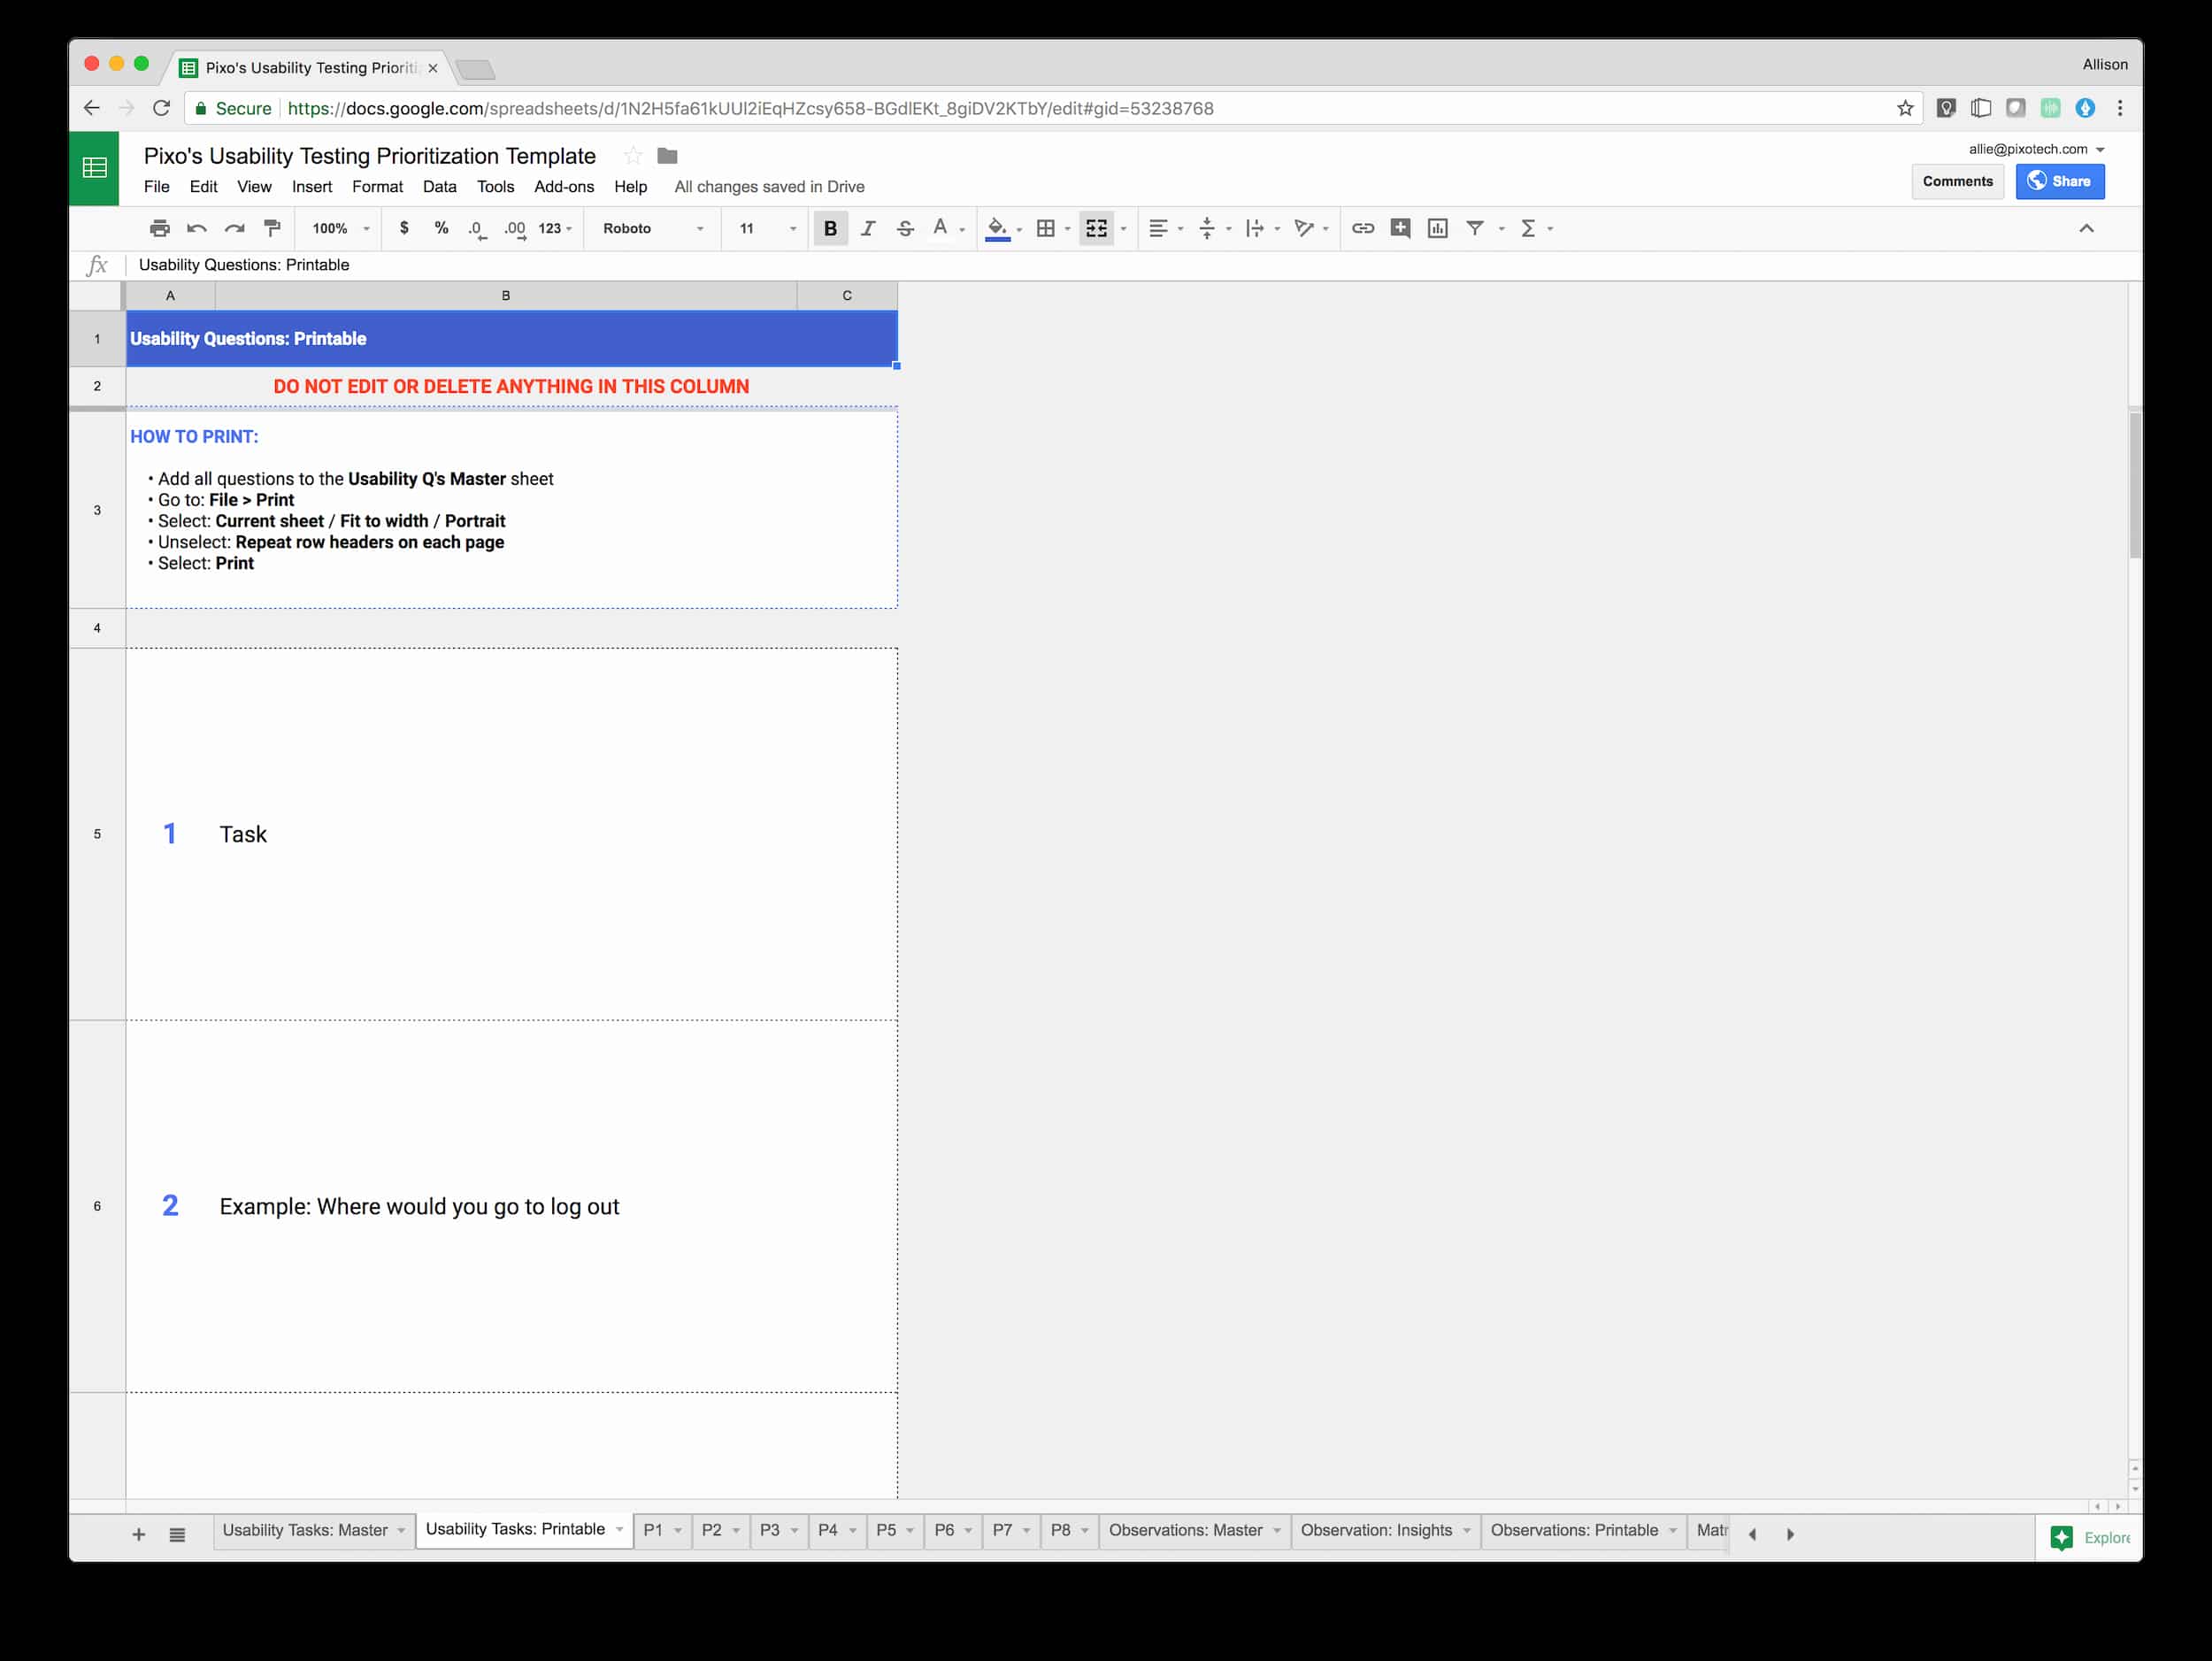
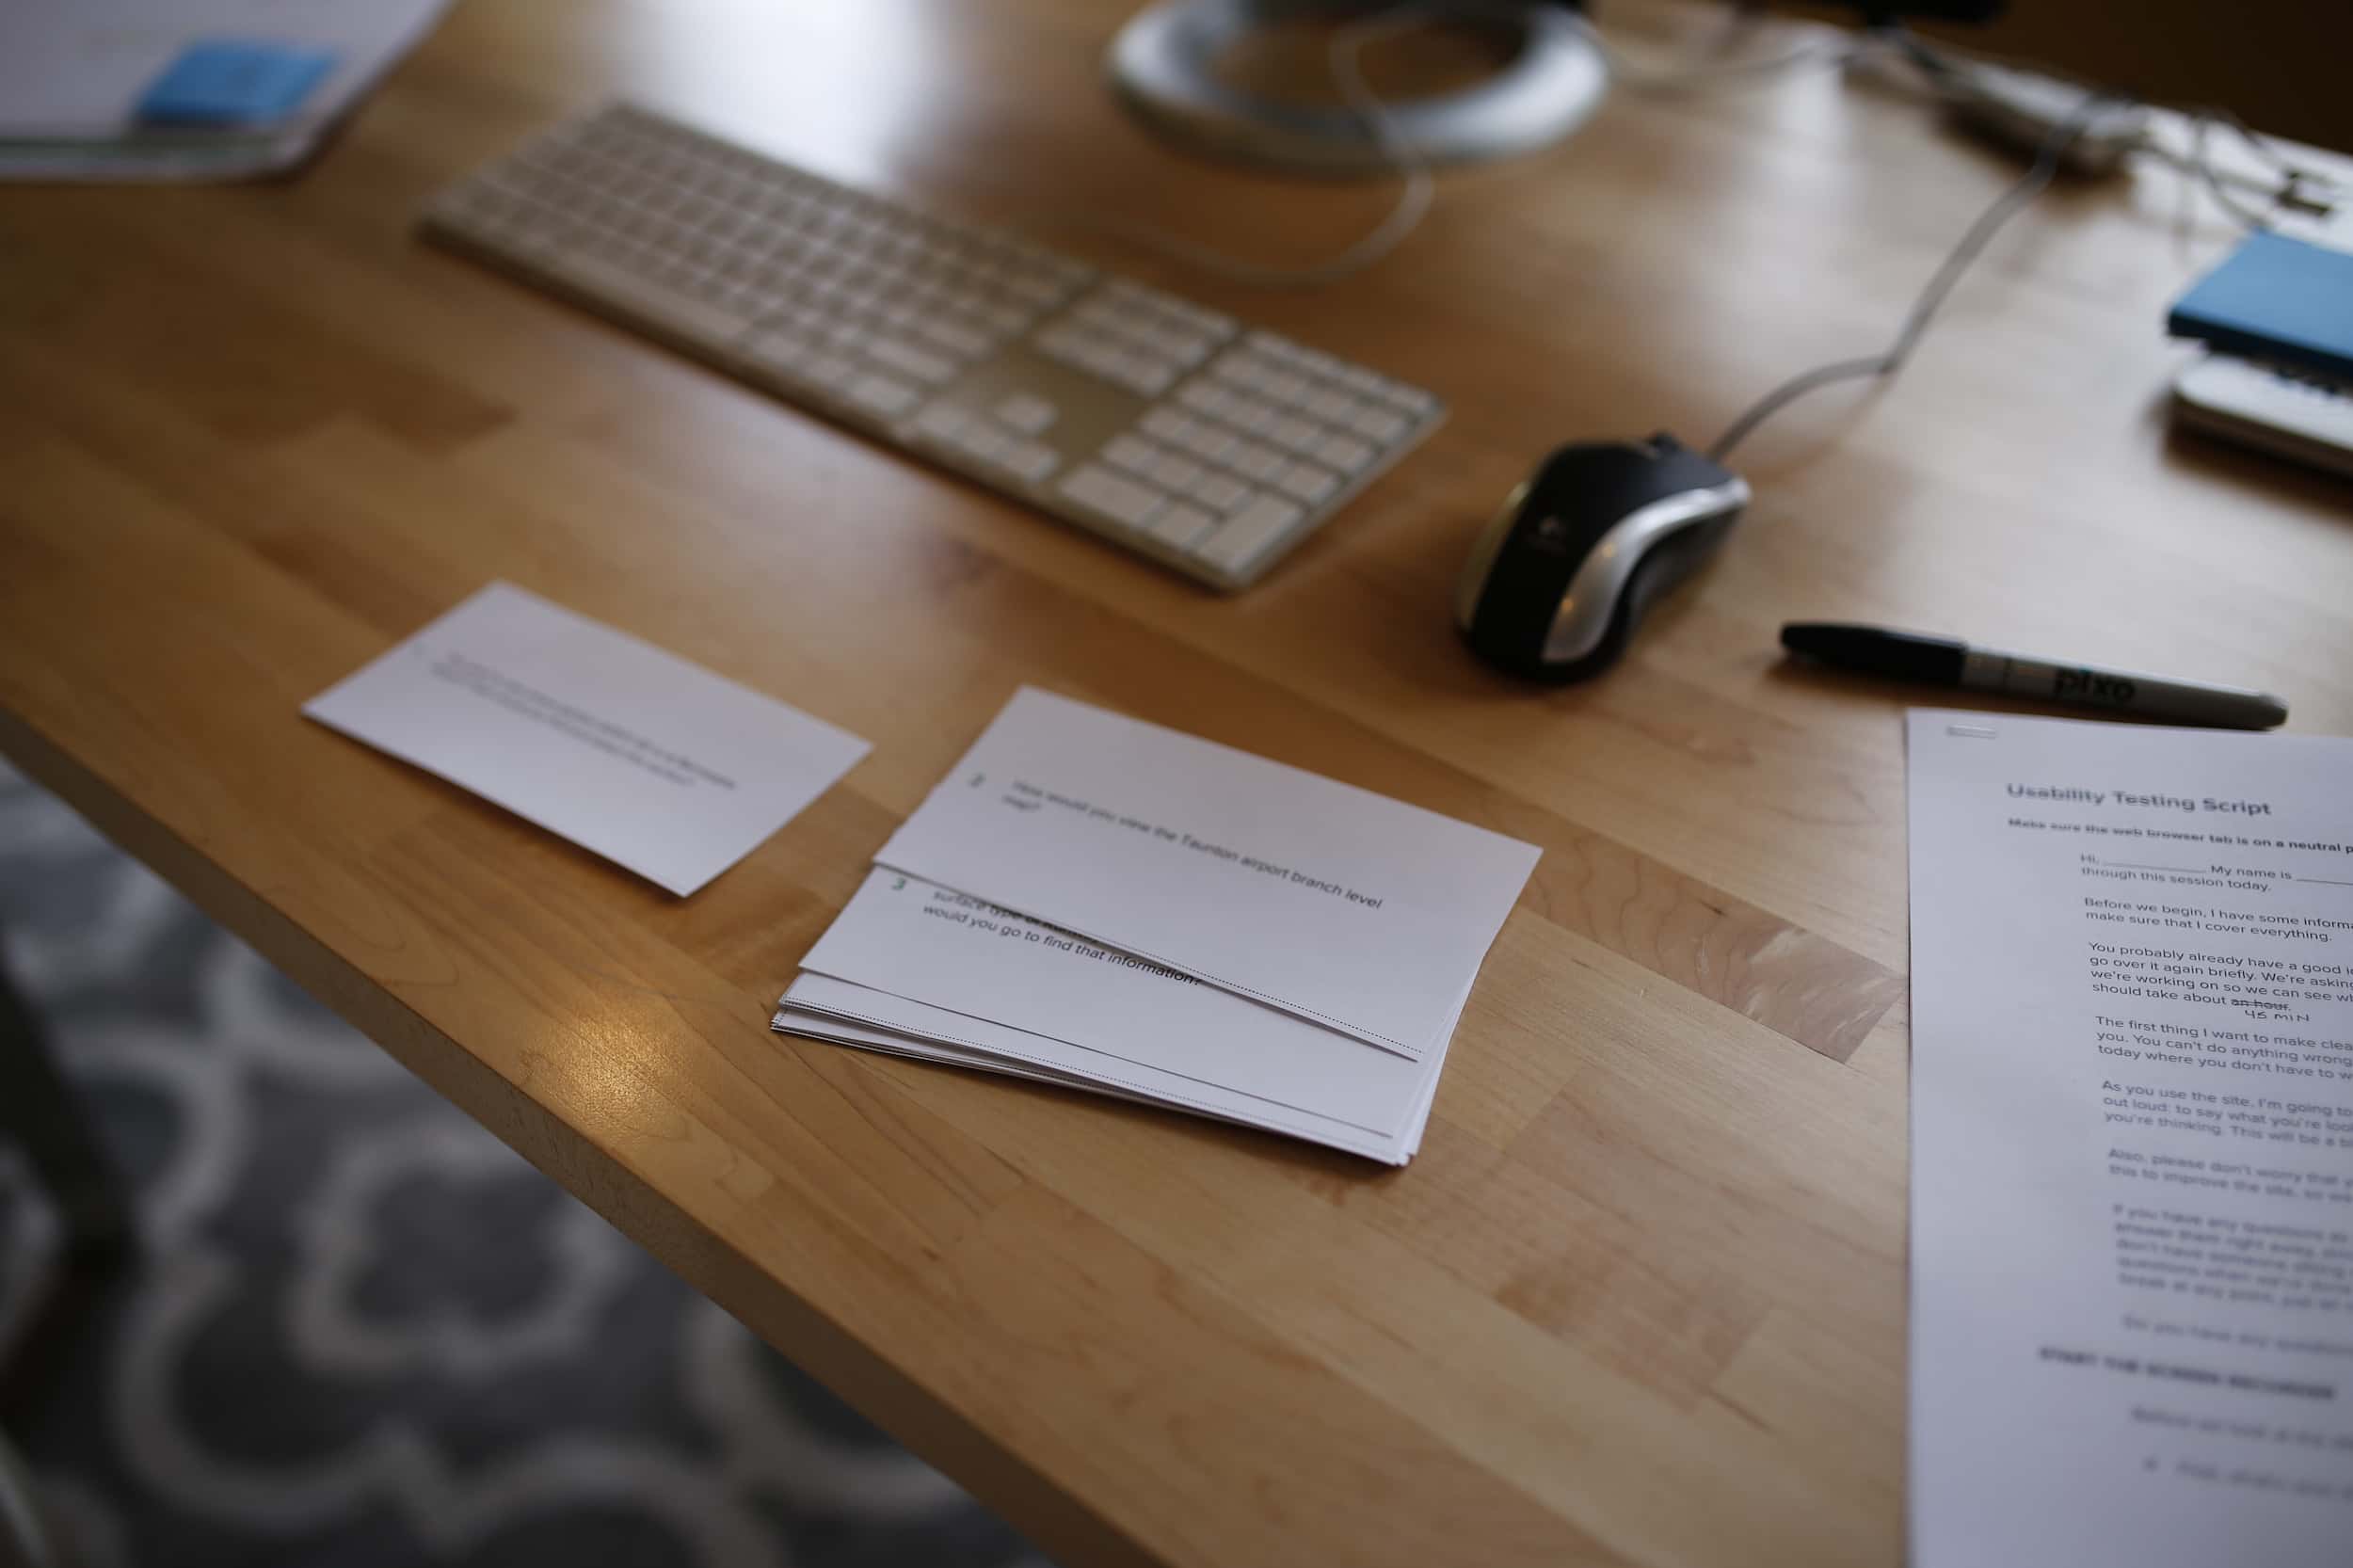
Any way we can ensure that the tester feels comfortable during a usability test reinforces that we’re not testing them, we’re testing the software. For example, it’s helpful for testers to have a printed version of each task or question in front of them as we go, so they can read the question along with hearing it. But it can be a pain to remember to create, format, and print the questions along with all the other prep.
I use the Usability Tasks: Printable sheet to print out a postcard-size version of each task. The spreadsheet is set up to pull each task directly from the main task sheet (No need to copy and paste!). Just go to File > Print, select portrait and fit to width, and uncheck Repeat frozen rows. Then select Print.
Use the dotted lines to cut out each task, and have them ready for the facilitator to hand to the user during each usability testing session.
Test time!
Step 3: Take notes
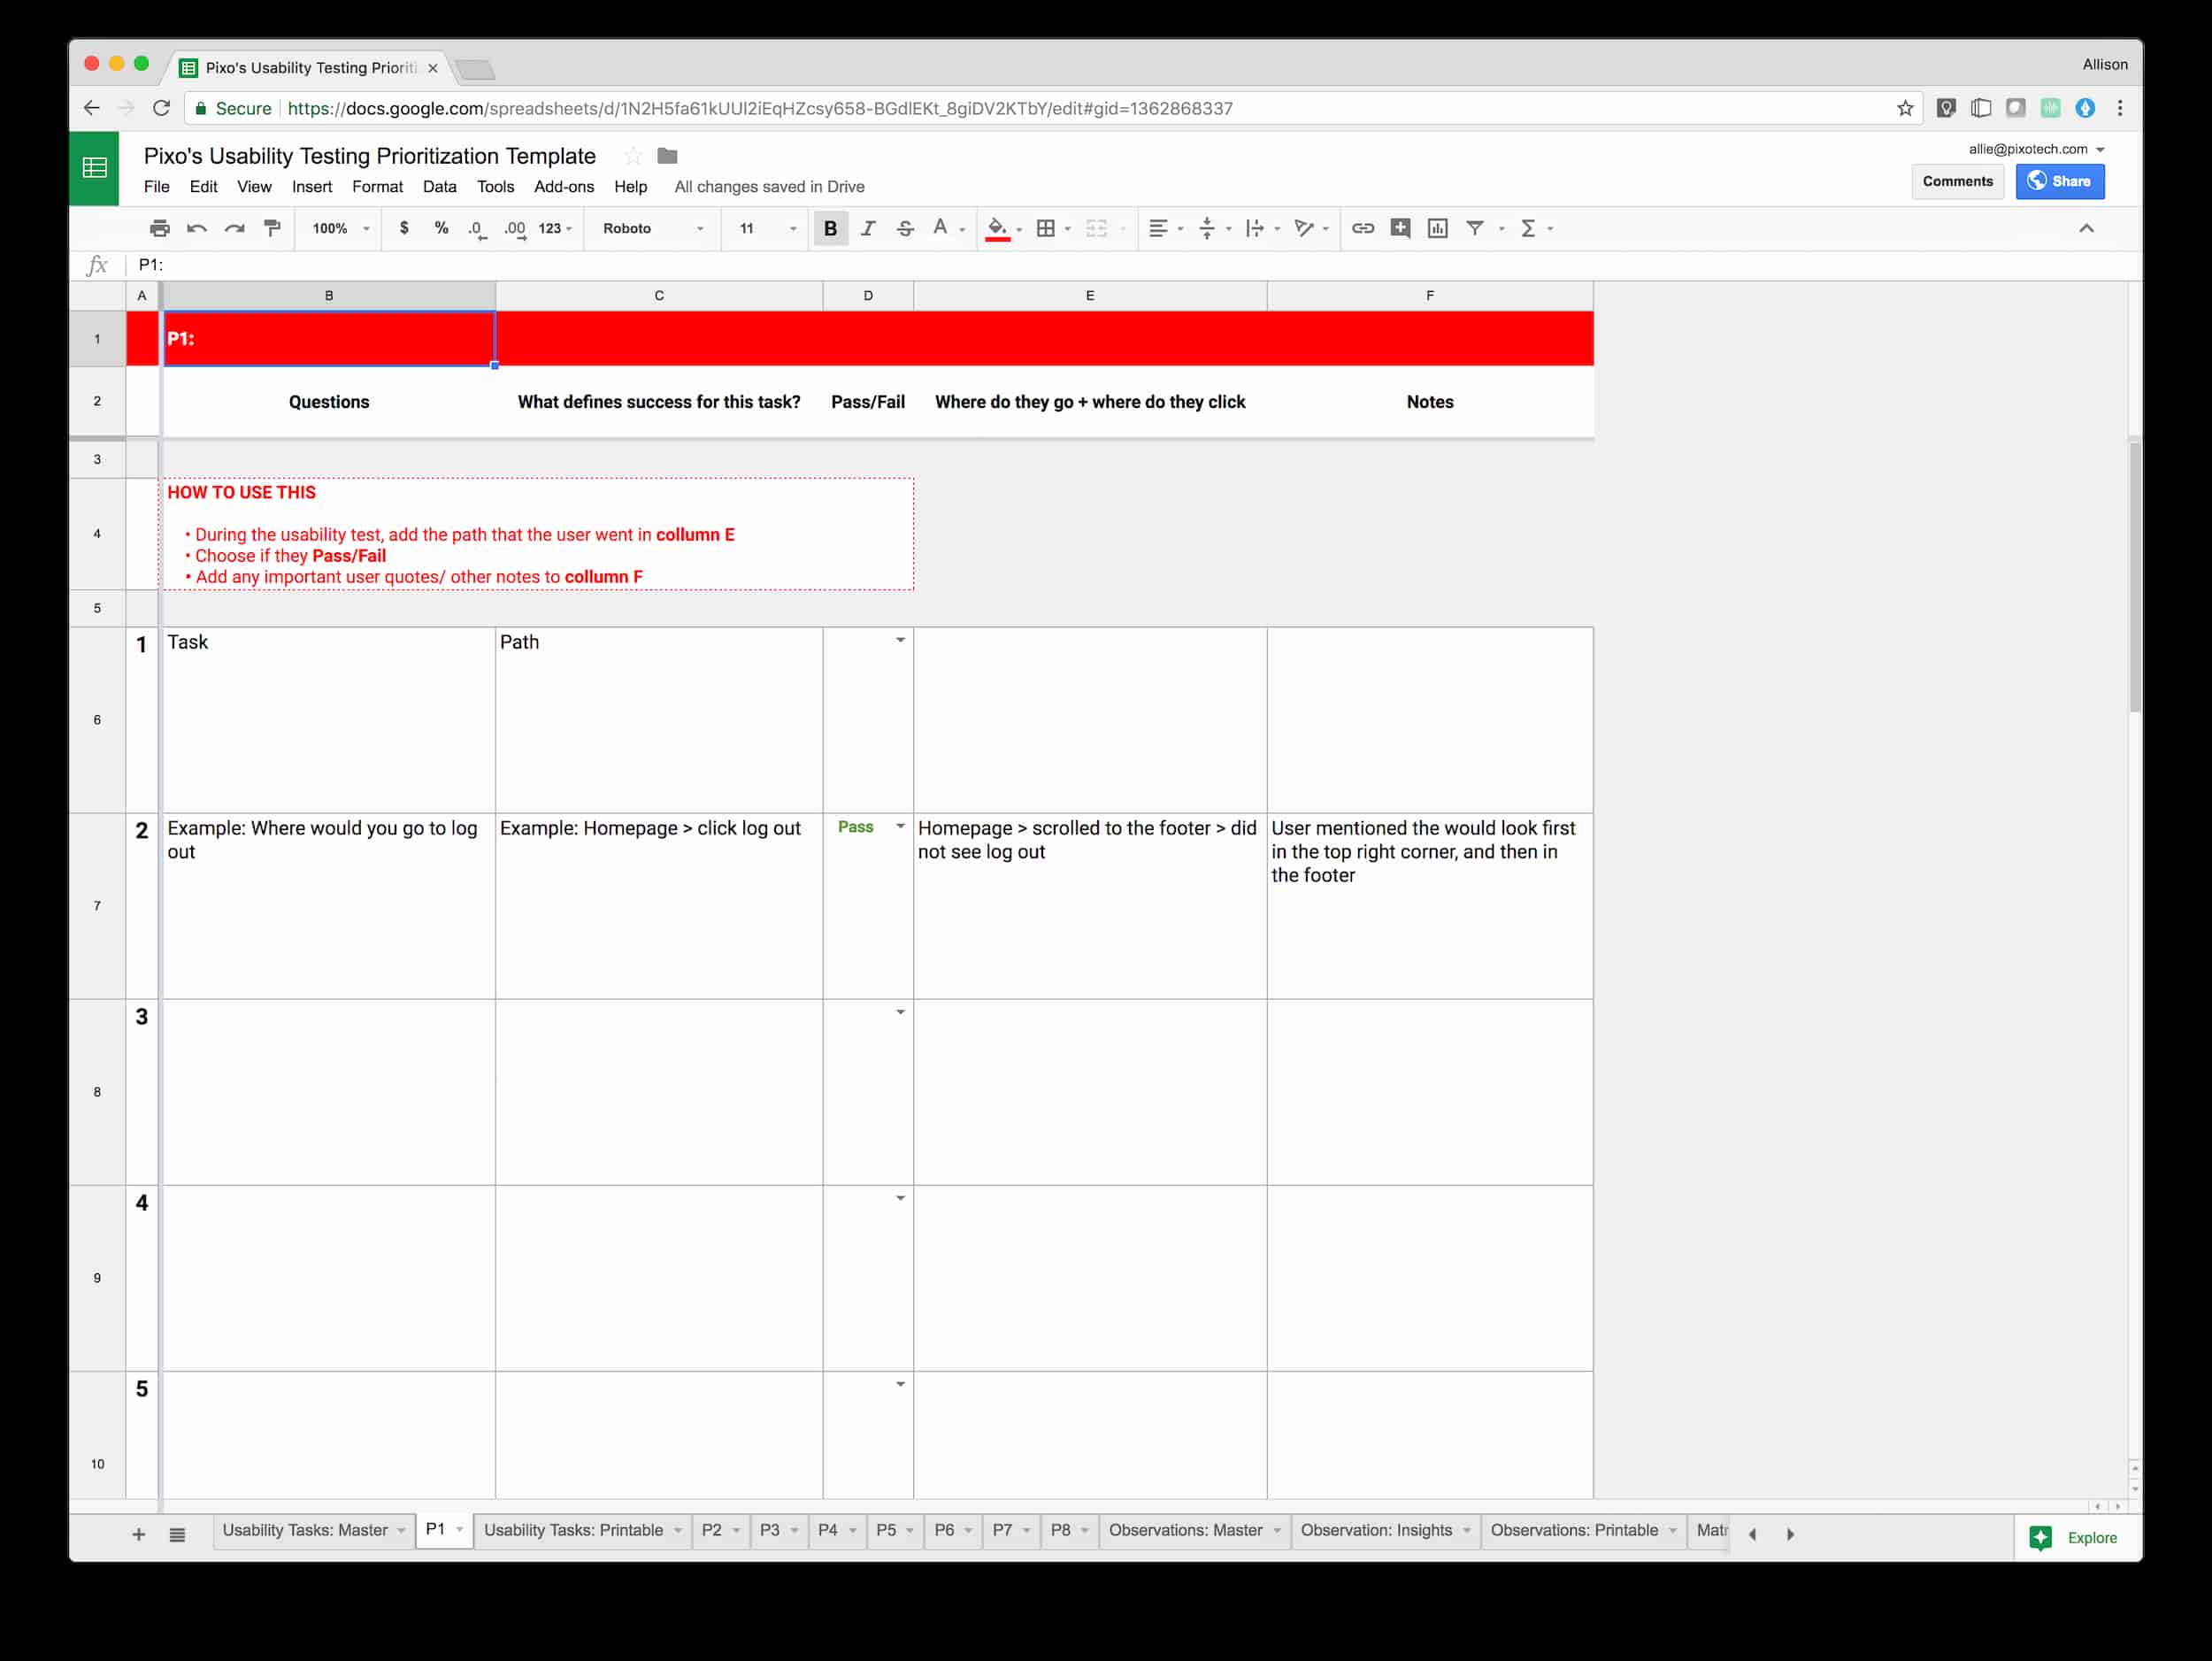
For each user, there is an associated color coded sheet labeled P1, P2, P3…etc. Use these sheets during testing to chart the path the user took, whether the task passed or failed, and takeaway notes and observations.
If you select “fail” for any of the tasks, the related cells are highlighted in red so that you can quickly scan for areas of concern.
Step 4: Post-test review
At the end of each usability test, any facilitators and note-takers should stay behind and discuss the key takeaways/observations. I’ve made the mistake of not doing this. Trust me! Save yourself from trying to sort through this information after doing a full day of testing.
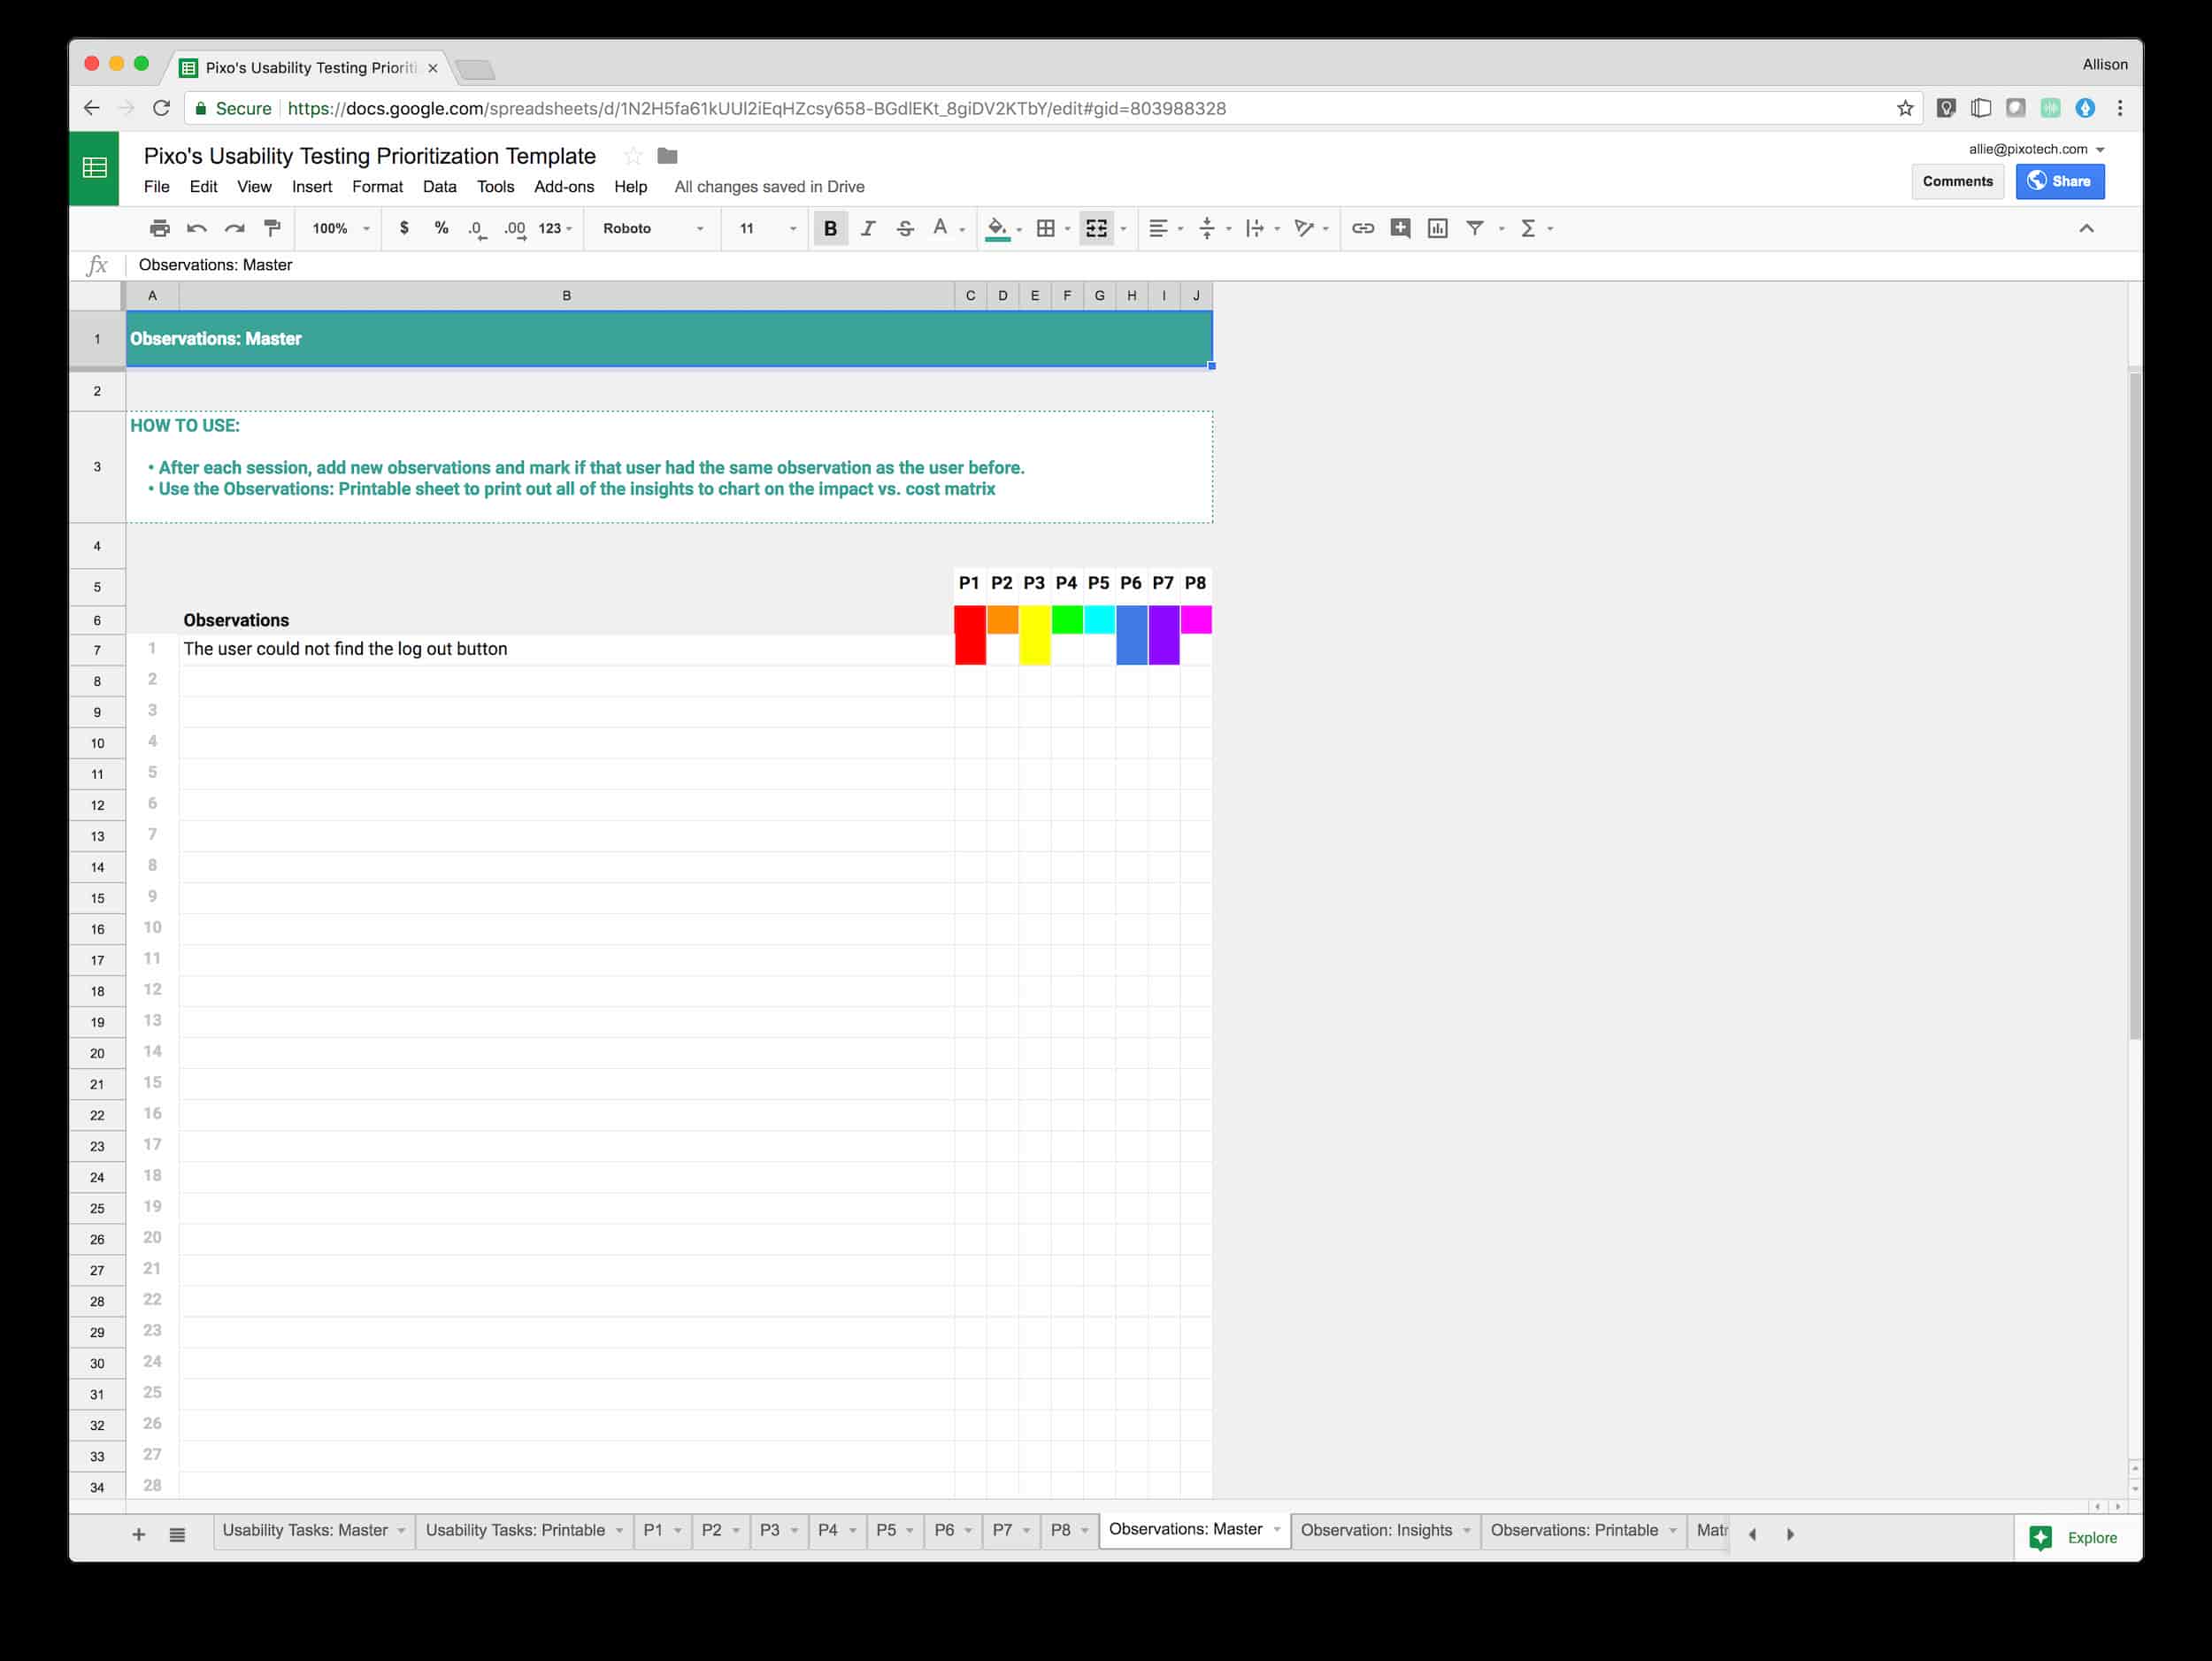
Recently, a colleague showed me the idea of a Rainbow Spreadsheet for usability testing. It wasn’t hard to see the potential of color coding each user’s observations in my usability testing spreadsheet, so I tried it out.
Using the Observations: Main sheet
The Observations: Main sheet is a way to digitally organize and see duplicates of observations. As you add in new observations, you want to mark how many of your testers encountered the same issue. Copy the colored square for each person, and paste it into observation row. After each session, re-visit all of the observations and mark if your tester also had the same issue.
To analyze all the gathered observations, use the rainbow spreadsheet marks to quickly scan and see which observations were most frustrating to users. Then copy those into the Observations: Printable sheet to print out these insights.
Review & Prioritize
Step 5: Discuss
This is a great opportunity to bring the results back to your project team. This can include the developers, project managers, QA specialist, product owner. My rule of thumb is that anyone who has a direct hand in creating the software should be there.
During this work session, we ask these two questions:
- How does this frustration point impact users?
- How much effort will it take us to solve this problem?
Both are estimates and allow the team to learn about the friction points for users along with brainstorming the necessary next steps for our project team.
Example:
Insight: Users had trouble getting back to the home screen.
We all realize this is a huge user pain point and know it will have a high impact on users. So we now ask How can we make sure users get back to the home screen?
Effort: Our team is confident that it’s a navigation problem, and already have some concepts to test out.
We also know that this is a relatively cheap change to make on the development side in the working software. We anticipate creating more prototypes, doing more usability testing, and eventually implementing those changes to the front-end. It will take a medium amount of effort, but it’s a high-priority fix.

Step 6: Prioritize

Our team uses Miro to aggregate results after our team work session, but it can easily be done in a spreadsheet or other low-fidelity tool.
Creating a matrix of Impact vs. Effort helps our team decide which questions to prioritize and which aren’t worth exploring right now. This is very similar to the Must/Should/Could concept for prioritizing tasks.
Our team can then choose one (Or several, depending on how closely related they are!) to tackle for a sprint.
Wrapping up
Maybe you know how important usability testing is to improve your work, but you get lost in how to document and prioritize your results. Worry no more! I hope you’ll make a copy of this template for yourself and let me know how it works for you. We’re constantly updating our process and will share any updates to the template or our process as they change!